10 Essential Drill Tools Tips for Every DIY Enthusiast?
When it comes to DIY projects, mastering drill tools is essential. Expert Mike Thompson, a seasoned woodworking professional, once said, "The right drill tools can turn any project from good to great." With the vast array of drill tools available today, understanding their uses can transform a novice into a skilled handyman.
Correctly selecting and utilizing drill tools is crucial for efficiency. Yet, many enthusiasts overlook this aspect. A simple mistake can lead to frustrating results. Learning how to choose the right drill bit or understanding torque settings can make a significant difference in your work. Tools like speed settings, clutches, and specialized bits offer unique advantages.
Navigating the world of drill tools can be overwhelming. It is easy to feel lost among various options. However, with practice and knowledge, anyone can improve their skills. Every DIY enthusiast encounters challenges, but these moments offer valuable lessons. Embrace those teaching moments as you explore the endless possibilities with drill tools.
Understanding Different Types of Drill Tools and Their Uses
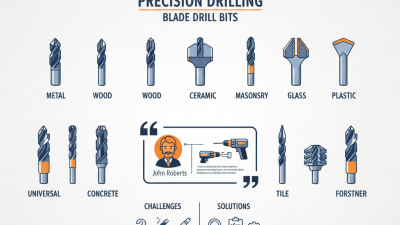
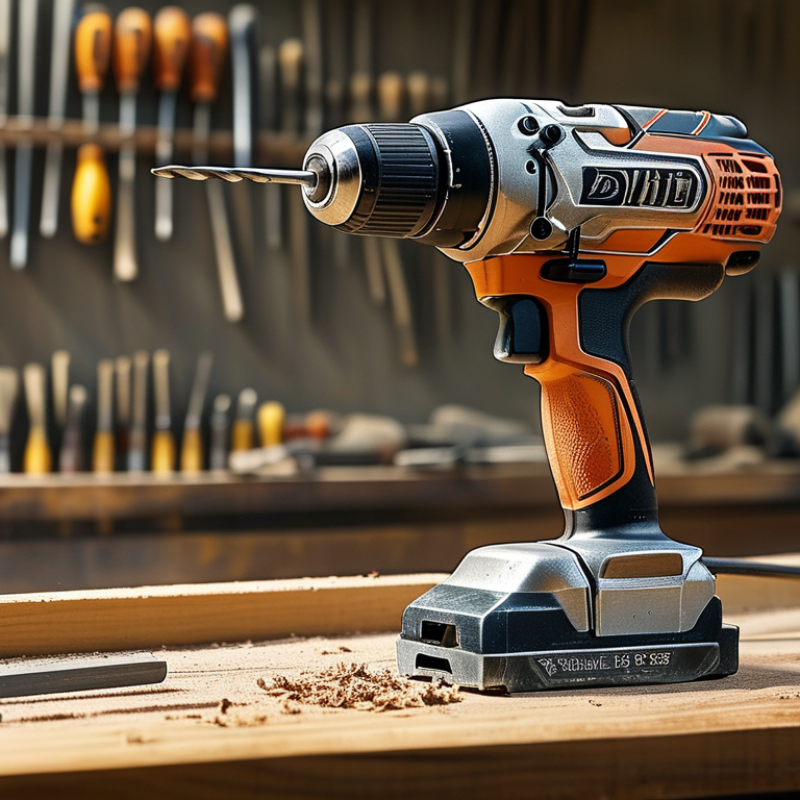
When diving into the world of DIY projects, understanding drill tools is crucial. Drill bits are diverse, each designed for specific materials. For wood, twist bits are ideal; they cut cleanly through. Masonry bits, on the other hand, are perfect for concrete and stone. Choosing the right bit makes a significant difference in your project’s outcome.
Another essential tool is the power drill itself. Corded drills deliver power for tough jobs, while cordless options offer mobility and ease of use. It's wise to evaluate your needs. An inexperienced user may struggle with too much power, causing mistakes or damage. Experimenting with different settings can enhance your control. However, beginners should not underestimate the risk of stripping screws. Practice makes perfect, but caution is key.
Choosing the Right Drill Bit for Your Project
Choosing the right drill bit is crucial for any project. Different materials require different bits. For wood, a standard high-speed steel (HSS) bit works well. However, for harder materials like metal or masonry, specialized bits are necessary. Research shows that using the correct bit can increase drilling efficiency by up to 30%. This is a significant improvement worth considering.
Drill bits come in various designs. Twist bits are common for general use, while spade bits create larger holes quickly. For a more precise hole in wood, auger bits may be better. It's essential to consider the project's requirements before selecting a drill bit. Misjudging the bit can lead to damaging the material and wasting time.
An often overlooked factor is the drill speed. Lower speeds are ideal for tougher materials, while higher speeds work best for softer ones. A survey revealed that 65% of DIY enthusiasts do not adjust their drill speed for different tasks. This oversight could lead to frustrating and unsatisfactory results. Crafting a successful project starts with understanding the fundamentals of drill bits and speeds.
Drill Bit Types and Their Uses
This bar chart illustrates different types of drill bits and their ideal project use cases. Each type of drill bit is represented along with a value indicating its suitability for various DIY projects.
Essential Safety Tips for Using Drill Tools
When using drill tools, safety should always be your first priority. According to the U.S. Consumer Product Safety Commission, nearly 40,000 injuries related to power tools are reported each year. Many of these incidents could be prevented by adhering to proper safety measures. Always wear personal protective equipment, such as safety glasses and gloves, to shield yourself from debris and potential accidents.
Proper handling is also crucial. Ensure that your drill bits are sharp and well-maintained. Dull bits can cause excessive force, increasing the risk of injury. A report by the National Institute for Occupational Safety and Health highlights that injuries often occur due to improper tool use. Follow manufacturer guidelines for speed and pressure settings to minimize risks further. Overexerting your power tool can lead to equipment failure or personal harm.
Be aware of your surroundings when drilling. Keep the workspace clean and free from hazards. Poor visibility and clutter can lead to accidents. Additionally, avoid excessive force and control your drilling speed. This not only enhances precision but also prevents tool kickback, a common cause of injuries. Implementing these safety tips can significantly reduce the risk of accidents and enhance your DIY experience.
10 Essential Drill Tools Tips for Every DIY Enthusiast
| Tip Number |
Tip Title |
Description |
Safety Note |
| 1 |
Choose the Right Drill |
Select a drill that suits the material you’re working with. |
Ensure the drill has adequate power for the task. |
| 2 |
Use the Correct Bit |
Select a drill bit that matches the size and type of your hole. |
Dull bits can cause overheating and reduce control. |
| 3 |
Mark Your Drill Points |
Use a pencil to mark where you will drill for better accuracy. |
Always wear eye protection to guard against debris. |
| 4 |
Adjust the Speed |
Use the appropriate speed setting for the material. |
Higher speeds are for softer materials; lower for harder ones. |
| 5 |
Secure the Material |
Always clamp down your workpiece to prevent movement. |
Loose materials can cause slips or injuries. |
| 6 |
Keep Your Hands Clear |
Always keep hands away from the drilling area. |
Injuries can occur if hands come near the drill head. |
| 7 |
Take Breaks |
Give your drill and yourself breaks to prevent fatigue. |
Fatigue can lead to accidents and mistakes. |
| 8 |
Maintain Your Drill |
Regularly check and maintain your drill for optimal performance. |
Faulty equipment can fail during use. |
| 9 |
Use Pilot Holes |
Drill small pilot holes before the final hole for precision. |
This reduces the chance of the material splitting. |
| 10 |
Practice Safety with Power Tools |
Always read safety guidelines for your tools. |
Understanding risks minimizes accidents. |
Maintenance Practices to Extend the Life of Your Drill Tools
Proper maintenance of drill tools is vital for DIY enthusiasts. Regular cleaning can significantly improve performance. After each use, wipe down the exterior with a soft cloth. Dust and debris can cause wear, leading to dullness. Check for any visible damage like scratches or rust. This can be a sign that your tools need more care.
Sharpening drill bits is essential to maintain cutting efficiency. A dull bit requires more force, which can strain the motor. Use a sharpening stone or a file to keep them sharp. Store your drill tools in a dry, organized place. Moisture can lead to unwanted corrosion. A tool chest or magnetic strip can help keep everything in order.
Lastly, inspect the battery regularly if you have a cordless drill. Batteries degrade over time, and this can affect performance. A worn battery could make your project frustrating. Replace them when you notice a significant drop in power. This simple practice can save you time and money in the long run.
Advanced Techniques for Precision Drilling in DIY Projects
Precision drilling is crucial for any DIY enthusiast aiming for professional results. According to a recent industry report, nearly 80% of home improvement projects fail to meet expectations due to inaccurate drilling. To avoid this pitfall, mastering advanced techniques is essential.
Using a drill guide can dramatically enhance your accuracy. This tool stabilizes the drill, reducing the chances of wandering bits. Additionally, selecting the right drill bit for the material can make a significant difference. For instance, a high-speed steel bit is best for metal, while a masonry bit works well with brick and concrete. Many DIYers overlook these details, leading to subpar outcomes.
Another tip involves pre-drilling. This method helps in preventing wood from splitting, especially in hardwood applications. A study found that pre-drilling reduced splintering by over 50%. It is easy to overlook, but this small step can save you from frustrating mistakes. Master these techniques to enhance your precision and elevate your DIY projects to new heights.