10 Essential Tips for Using Metal Hole Cutters Effectively?
When using a Metal Hole Cutter, precision is key. Jim Taylor, a renowned expert in metalworking, once stated, “The right technique makes all the difference.” Mastering metal hole cutting can enhance your projects significantly. However, many face challenges in achieving clean cuts.
Metal Hole Cutters are essential tools for various tasks. They allow precise cutting through different materials. Yet, without proper technique, users may leave rough edges. This can compromise the overall quality of the work. Attention to detail and a methodical approach are crucial.
Mistakes are part of learning, especially with tools like a Metal Hole Cutter. Many users rush through the process, leading to errors. Reflecting on these experiences can help improve skills over time. Embracing the learning curve is essential for mastering this craft.
Understanding Different Types of Metal Hole Cutters and Their Uses
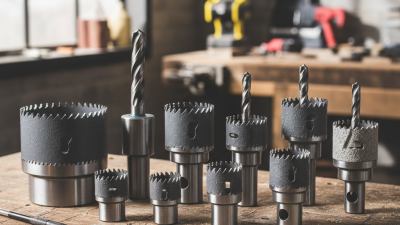
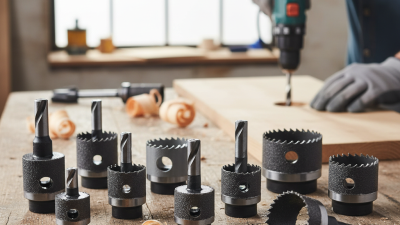
When it comes to metal hole cutters, understanding the various types is essential for achieving precise results. Metal hole cutters come in several designs, including step bits, hole saws, and twist drills. Each type serves a specific purpose. For example, hole saws are ideal for larger openings, while step bits are excellent for gradual sizes. According to industry reports, proper tool selection can increase efficiency by up to 30%.
To use these tools effectively, consider the following:
**Tip 1:** Always match the cutter type to the material. For thicker metals, hole saws work best while thinner sheets can be managed with step bits.
**Tip 2:** Proper speed is crucial. Going too fast may cause overheating and damage.
Different metals require different approaches as well. For aluminum, a faster speed often works better. However, steel may require lower speeds to prevent wear.
**Tip 3:** Regular maintenance is necessary. Dull cutters can produce inaccurate holes and increase the risk of breakage. Industry studies suggest that maintaining sharp tools can reduce operational costs by around 15%.
Step-by-Step Guide to Setting Up Your Metal Hole Cutter
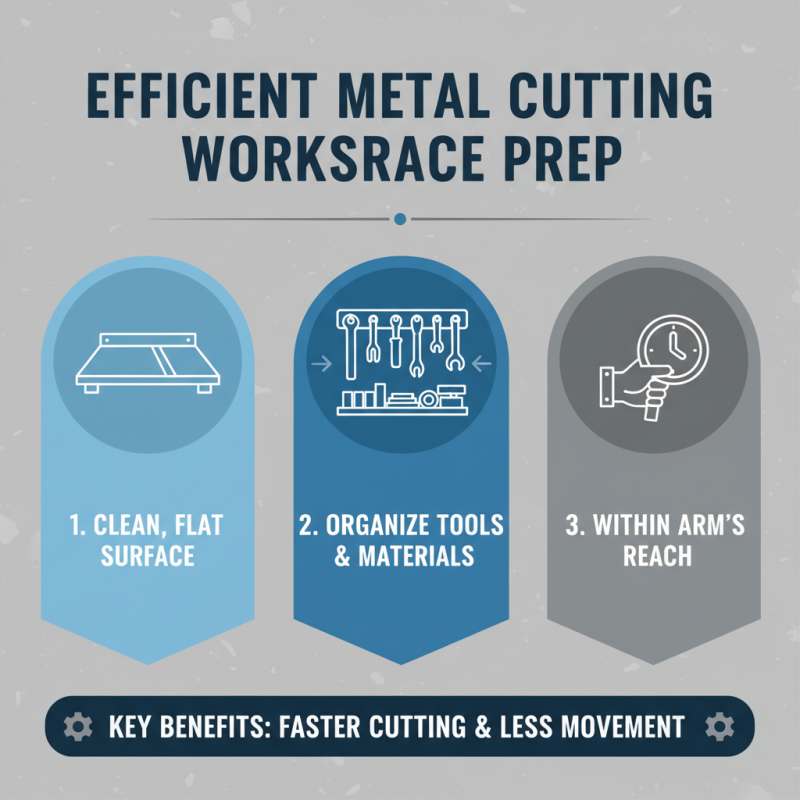
Setting up your metal hole cutter requires careful preparation. Begin by choosing the right cutter for your project. Ensure it's suitable for the metal thickness you're working with. Check your power source; a reliable power supply is essential for smooth operation. Safety gear is crucial. Always wear gloves, goggles, and ear protection as metal shavings can fly.
Once you have your tools ready, secure your metal piece in a sturdy vice. This prevents movement and ensures cleaner cuts. Mark your cutting area clearly with a fine-tipped marker. Take a moment to double-check your measurements. Precision is key in achieving a polished result. When cutting, maintain a steady pressure. Too much force can lead to jagged edges.
Here are a few helpful tips: avoid rushing your cuts to minimize mistakes. Remember, patience leads to better outcomes. Adjust the cutter speed based on the material type; harder metals may require slower speeds. Lastly, always clean your cutter after use to maintain efficiency and prolong its lifespan.
Usage Tips for Metal Hole Cutters
Best Practices for Operating Metal Hole Cutters Safely
When operating metal hole cutters, safety should be your top priority. Always wear appropriate personal protective equipment (PPE). This includes safety goggles, gloves, and hearing protection. According to the American National Standards Institute, proper PPE can reduce the risk of injury by up to 70%. Use the tools in a well-lit area. Poor visibility can lead to accidents, especially when handling sharp instruments.
Before cutting, inspect your metal hole cutter for any signs of wear. A worn or damaged tool can cause misalignment or break during use. An OSHA report highlights that over 30% of workplace injuries are caused by improperly maintained equipment. Always secure the workpiece tightly to prevent movement. There are varied cutting techniques; using the right one can greatly enhance safety. Slow and steady pressure often yields better results and reduces the chance of slips.
Proper technique is essential. Engage the tool slowly and maintain control. Remember, it's better to take your time than to rush. Rushing can lead to errors and injury. Keep your hands clear of cutting paths; this is a common pitfall. Safety is non-negotiable, and each step should be evaluated critically to ensure effective operation.
Tips for Maintaining and Storing Your Metal Hole Cutters
When it comes to metal hole cutters, proper maintenance and storage are critical for longevity and performance. Research indicates that around 30% of tool failures result from poor maintenance practices. Regularly cleaning your metal hole cutters after each use can significantly extend their lifespan. A simple wipe down with a clean cloth removes debris and prevents rust. Additionally, lubricating moving parts with appropriate oil can enhance efficiency.
Storage plays a significant role in preserving the quality of your tools. Tools that are not stored properly can become damaged or dull. Using a dedicated storage case can protect them from dust and moisture. A humidity-controlled environment can further prevent oxidation, a common issue in metal tools. Industry reports highlight that proper storage reduces the risk of tool deformation by nearly 20%.
It's also important to periodically inspect your metal hole cutters for signs of wear. Look for chipping, dull edges, and rust. These issues can reduce cutting efficiency and require immediate attention. Addressing these problems early can lead to better results. Identifying small issues can prevent larger, costlier repairs down the line. Balancing the demands of use and care is essential for optimal performance.
10 Essential Tips for Using Metal Hole Cutters Effectively
| Tip Number |
Tip Description |
Maintenance Advice |
Storage Tips |
| 1 |
Choose the right size cutter for your project. |
Clean the cutter after each use to prevent rust. |
Store cutters in a protective case to avoid damage. |
| 2 |
Use lubrication for smoother cutting. |
Regularly sharpen the cutter for optimal performance. |
Keep in a dry place to avoid moisture exposure. |
| 3 |
Mark your cutting surface clearly. |
Inspect for wear before each use. |
Use a tool organizer to keep them accessible. |
| 4 |
Apply even pressure while cutting. |
Store in their original packaging when not in use. |
Avoid storing near chemicals that could cause corrosion. |
| 5 |
Use a pilot drill for larger cutter sizes. |
Keep a maintenance log for your tools. |
Label storage areas for easy identification. |